3dWindow Tutorial - Basics
Our extension is fully dynamic and creates your required frames, doors and windows ‘on the fly’; it is not based upon ‘default components’.
So, let’s start and show you how to work with this extension.
You can watch this short video and/or read about each step along the way below.
View our short demonstration video:
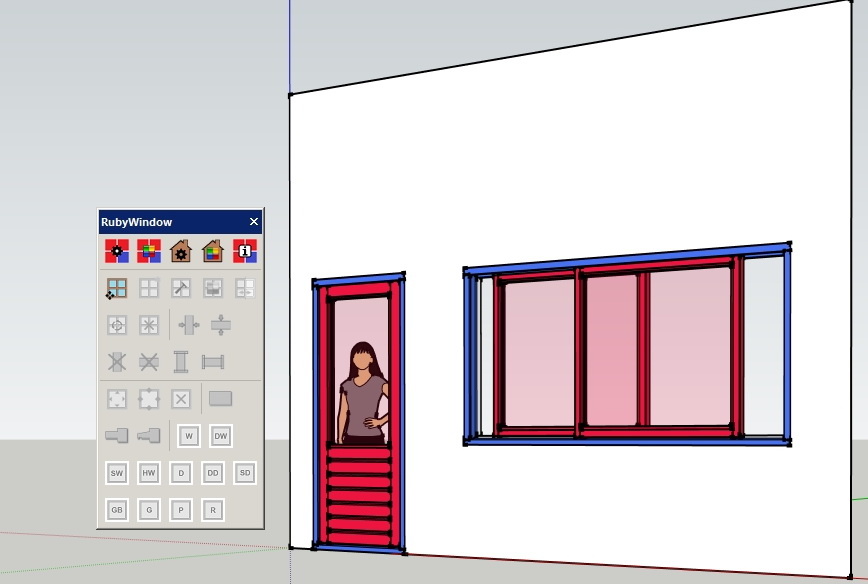
Looking at the image below you find that since nothing is selected, the toolbar is more or less ‘inactive’.
So first of all you need to know that all buttons in the toolbar will appear active (and in color) only when there is a possibility to use them!
For example: changing a window to a high details setting without selecting it first, will not activate the required button so it will remain grey. Only the top row buttons will give you the possibility to set general preferences for the plugin or for project specific attributes, regardless the state of the model.
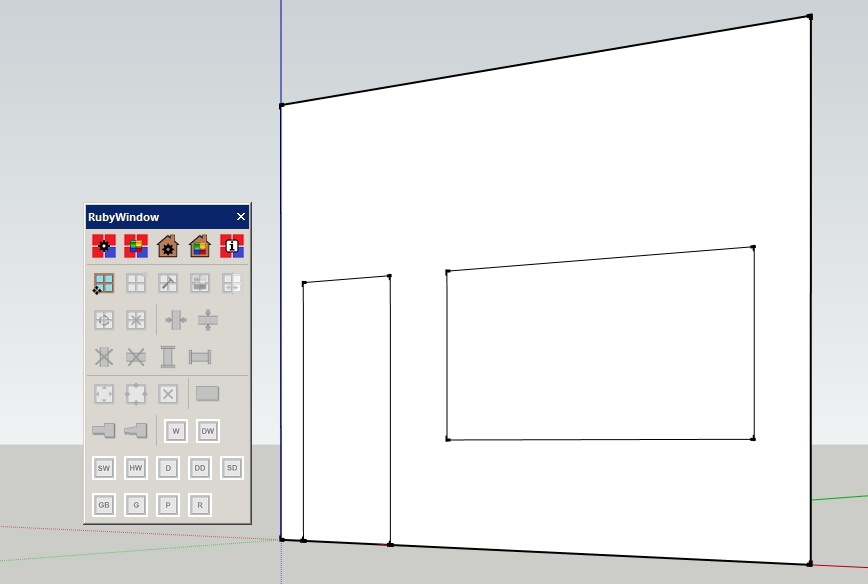
Only the ‘Place tool’ (second row, first icon) is now available to create frames. Selecting this will 'glue' a frame to your mouse pointer, so you can ‘stamp’ the frame(s) on whatever even surface you want. The measurements of this frame are depending on the settings in General Preferences (first row, first icon).
One specific difference of using this ‘place tool’ compared to the ‘Create a new frame’ button (next to it in the toolbar and explained in detail later) is that all these frames are clones. So if you change the color, measurements or level of detail of one, you will automatically change all of them in your project.
We assume that most of the users will draw faces or area's with specific dimensions first and then start to create frames, doors and windows. So that is how we will continue.
Select the area you want to change into a frame:
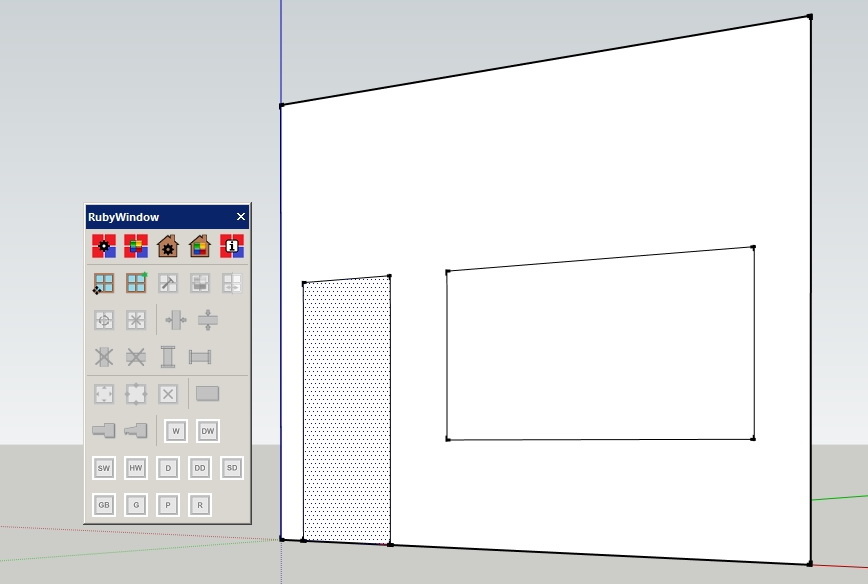
The ‘create a new frame’ button activates immediately whenever a selection has been made (second row, second icon in the toolbar).
Click this buton and accept default values for now (or change them if you like). It will automatically use your set specifications from the general preferences.
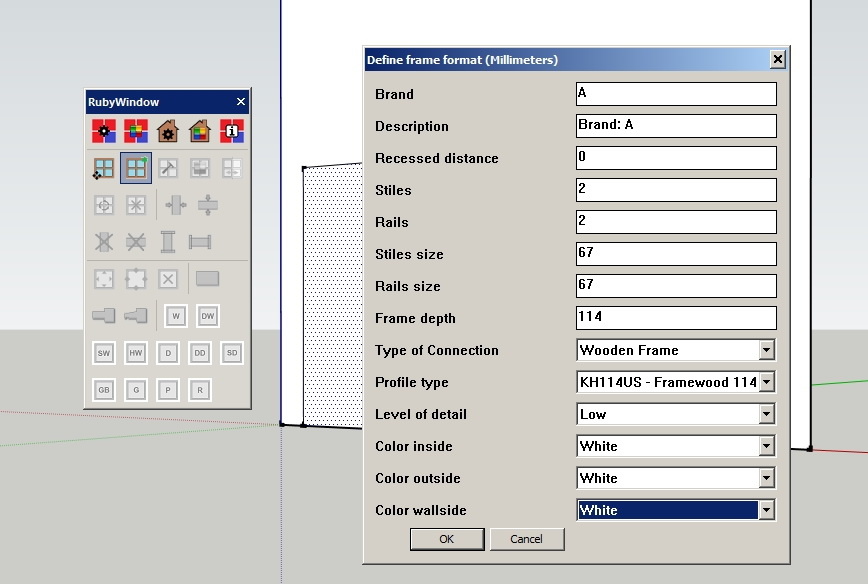
Press enter or click OK to accept the settings and the door frame is created. (You can change it later with the button right next to the one just used (the icon with the hammer)).
STEP 1: ADDDING A FRAME: DONE!
Another example; now for a window frame containing more rails and stiles.
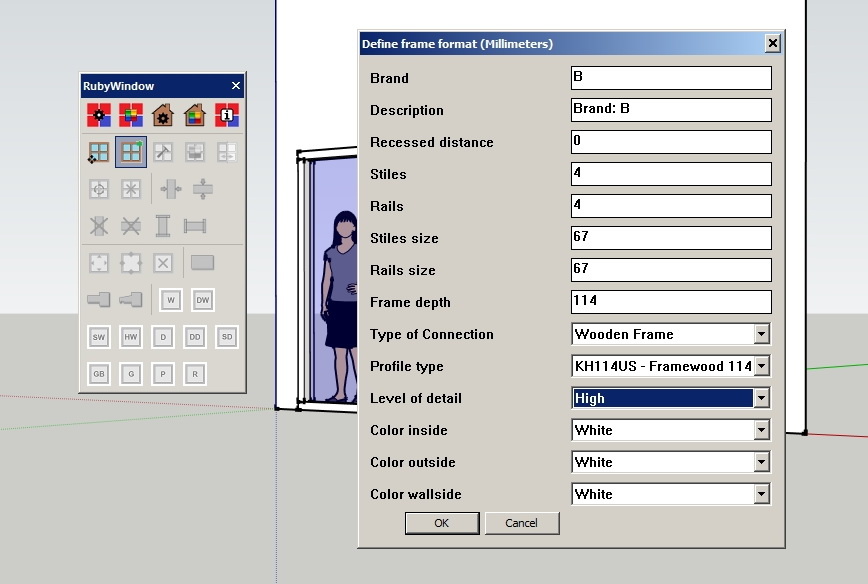
First again select the window face, click the ‘create new frame’ button and this time we will use these settings:
Stiles = 4,
Rails = 4 and
Level of detail: High
Bam: done!
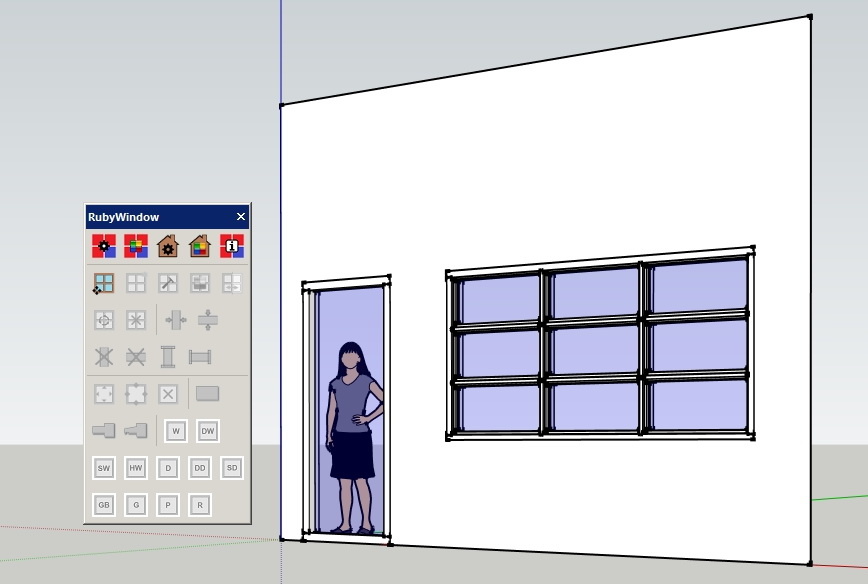
It already looks like a nice window but remember it is only the frame!
Now, let’s continue to step 2: Adding a filling (a door/window/or user component) to the frame.
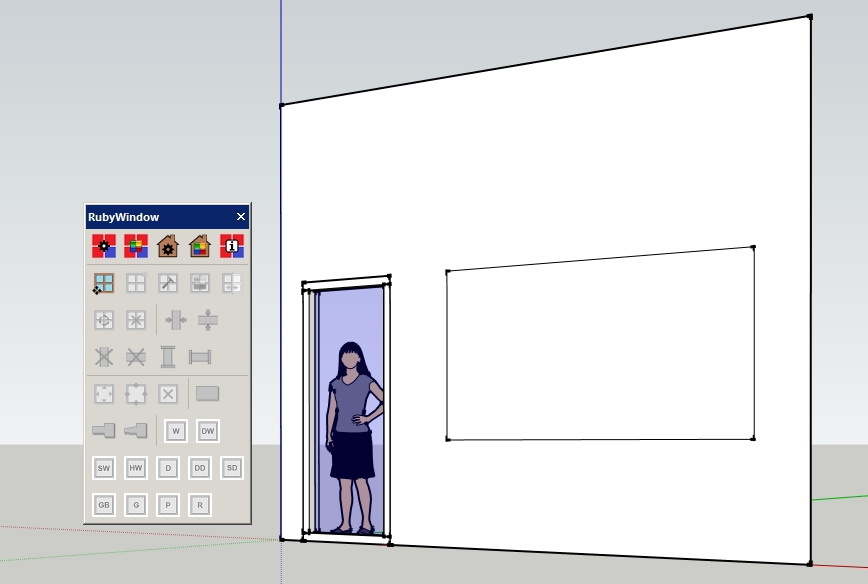
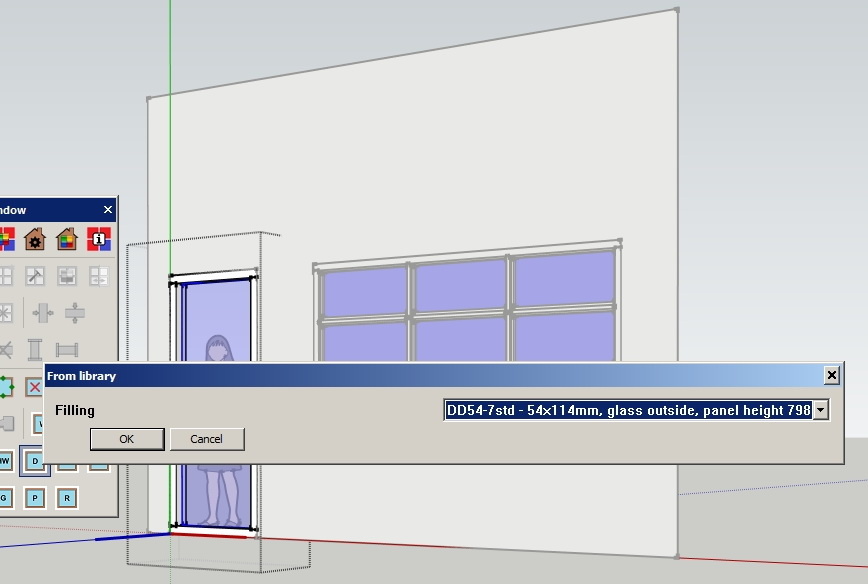
Triple click on the filling (the glass looking part in front of the lady in the door frame). Now all kinds of ‘fillings’ become available:
Window, Double Window, Slider Window, Hung Window, Door, Double door, Slider Door, Glazing beads, Glass panel, Panel or Rack work.
(Depending on your version: LITE or FULL!)

Choose a door from the library by clicking on the icon with the D:
The result:
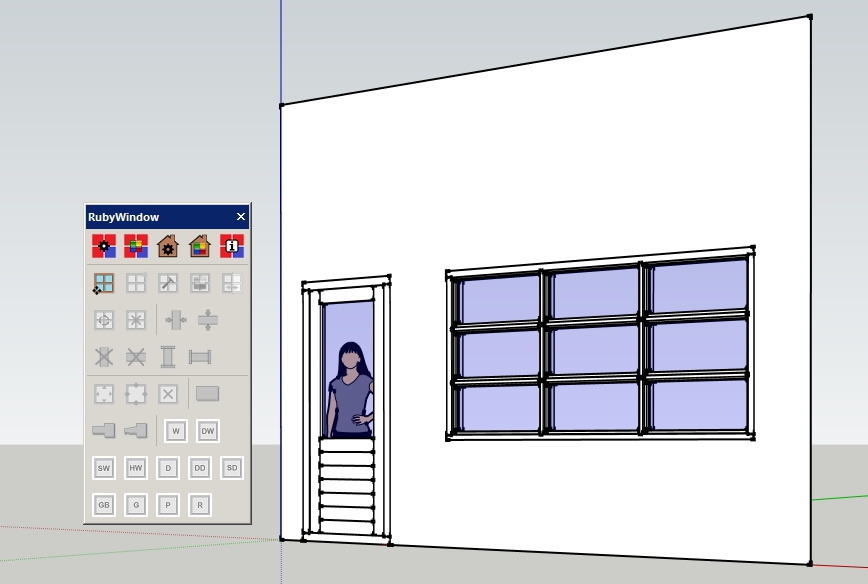
STEP 2: INSERTING A FILLING: DONE!
If you would like to change any filling, frame, size or color: just select it and fine tune it to your likings.
STEP 3: PERSONALIZED AND FINE TUNED: DONE!
The last image is an example that we also created using the extension only.
Okay, we know how it all works but it took only 1 minute to create!